After you have created a Pricing Profile, you may apply it to the image(s) you wish to sell. Pricing Profiles can be applied directly to one or more selected images by Admin and Editors in the Library.
Applying a Profile to a Single Image
- From the Media menu, select Library.
- In the Left Pane, select the gallery that contains the image you would like to price, and select the image.
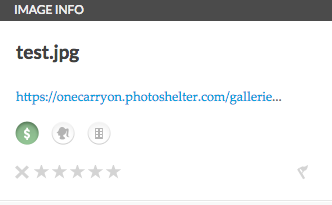
- Click the Quick Action Button with the dollar sign on it located in the Right Pane. The Price Images for Sale/Licensing pop-up box will appear.
- Click Add Pricing
- A drop-down menu will appear allowing you to choose which Pricing Profile type you'd like to apply to the image. Once selected, a second drop-down menu will appear with the Pricing Profiles you have created. Select the Pricing Profile you'd like to apply. Click Submit. Images that are priced will have a small green dollar sign icon below them.
To remove a Pricing Profile from an image, click the Quick Action Button with the dollar sign, and in the pop-up box's second drop-down menu, select No Profile (remove existing).
Applying a Pricing Profile to Multiple Images or an Entire Gallery
- From the Media menu, select Library.
- In the Left Pane, select the gallery that contains the images you want to price. You can select multiple images by holding down the Command key on a Mac keyboard or the Control key on a PC keyboard. You can select all the images within a gallery by clicking All at the top left of the Center Pane.
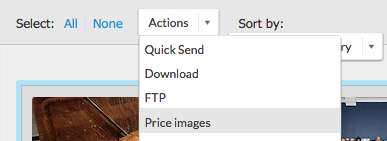
- Select the Actions drop-down menu in the Center Pane, and select Price.
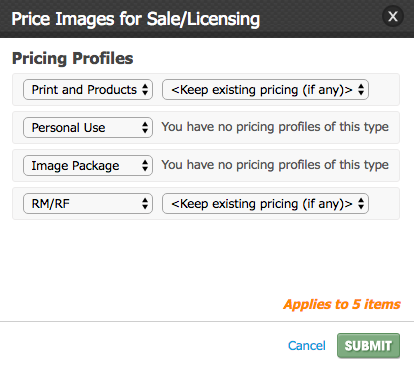
- The Price Images for Sale/Licensing pop-up box will appear with drop-down menus allowing you to select a Pricing Profile for every Profile type you may want to apply to these images. Select the Pricing Profiles you wish to apply, then click Submit. Images that are priced will have a small green dollar sign icon below them.
To remove a Pricing Profile from a group of images, select the images, and from the Actions drop-down menu, select Price. In the pop-up box, select No Profile (remove existing) from the drop-down menu(s).
Move Cart to Visible Nav Items in Portal Settings
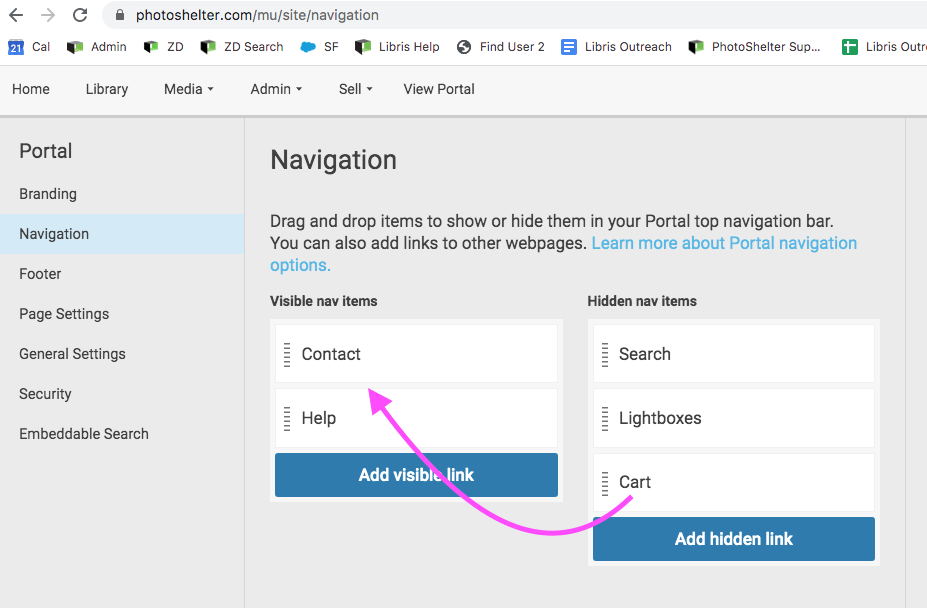
Go to Admin > Portal Settings > Navigation
The visibility of the Cart in your Portal topnav controls whether the Add to Cart icons display in the bottom toolbar when viewing a single image on the Portal website. (Add to Cart will only appear for images that an Admin or Editor has priced for sale.) Likewise, if you hide the Cart item in the topnav, it will also hide the Add to Cart icon in the bottom toolbar, disabling e-commerce for the entire website.